
Shipping to Germany 6.99 € / Ireland & UK 9.99 € / Swiss, USA & Canada 14.99 € / Austria --> AllesPost / EU? --> logoix.com
Rosengold Skirt
🧶 Rose Gold Skirt Crochet Pattern
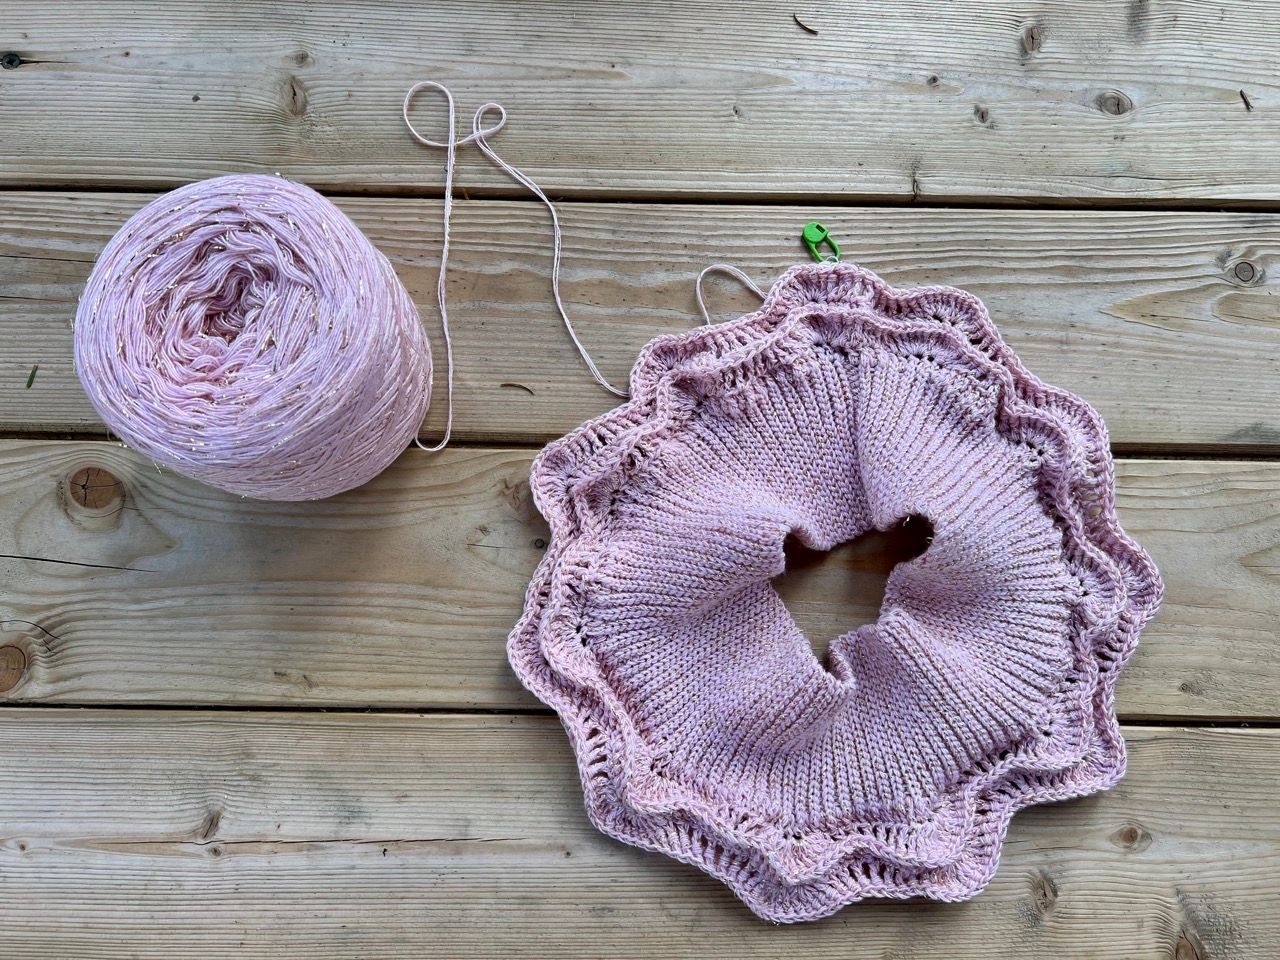
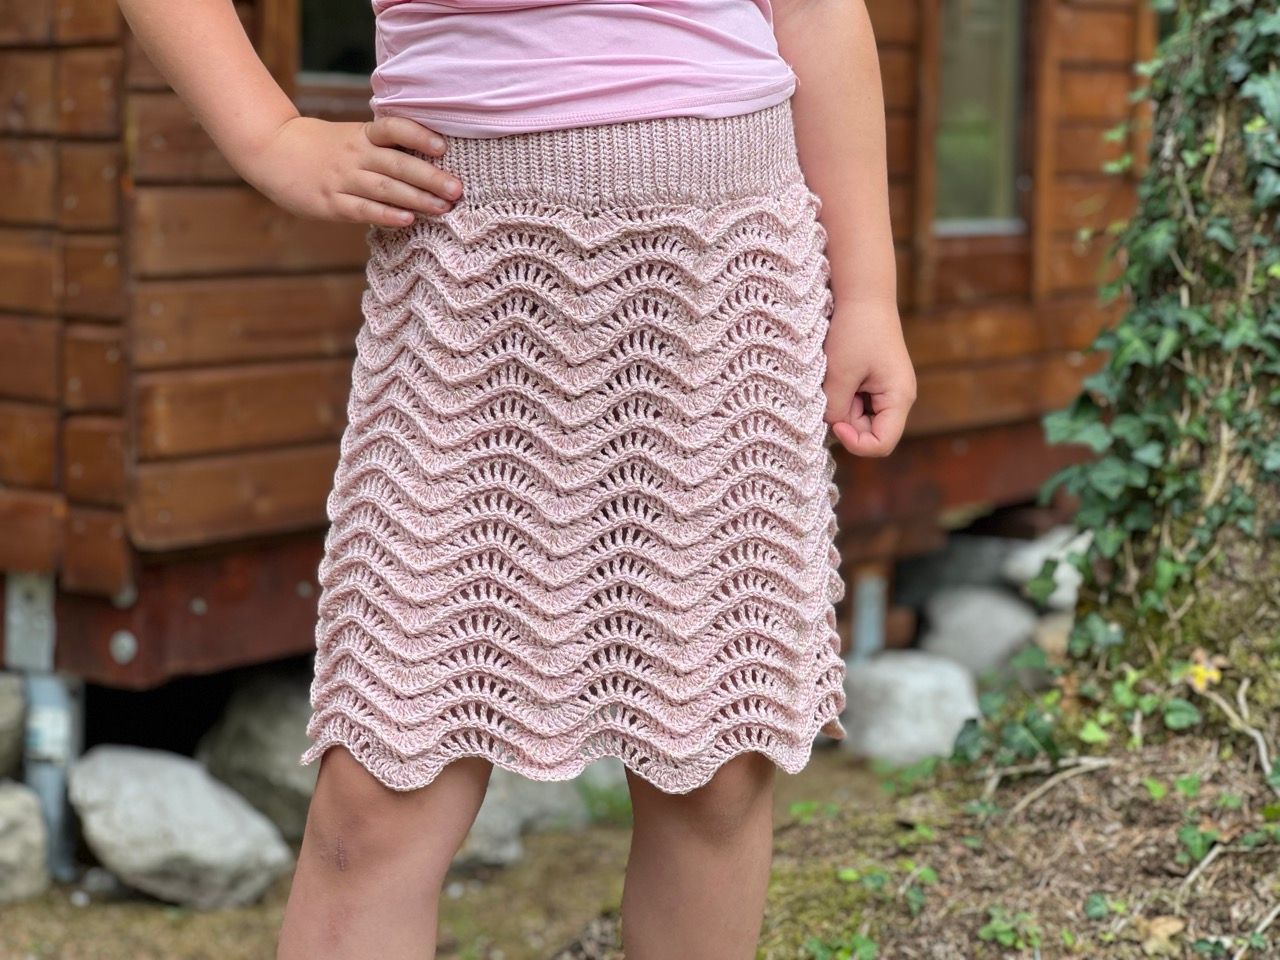
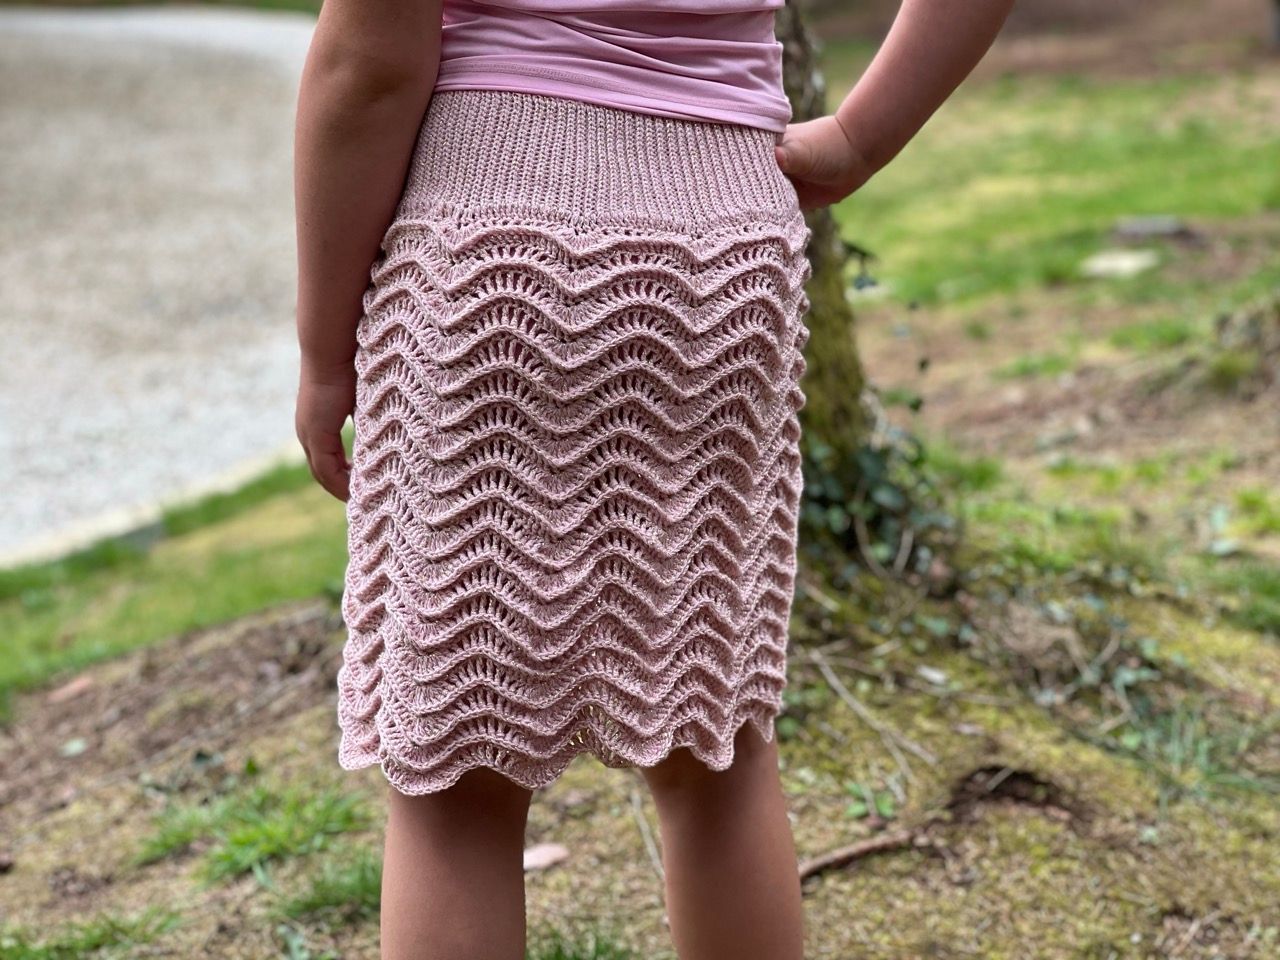
A beautiful, stretchy skirt with a flowing Feather and Fan wave pattern that can be customized to any size (from toddlers to adults) — with no gauge swatches or math required!
(Please choose the English voiceover via the toothwheel)
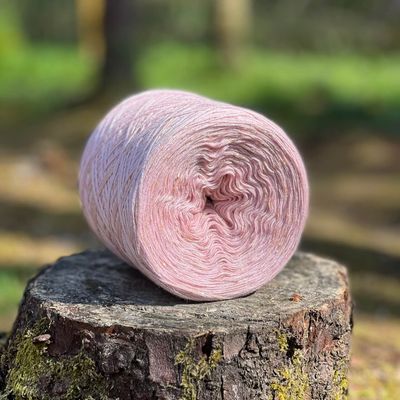
🌲 Rosengold Glitter Yarn: https://woolpedia.de/products/rosengold
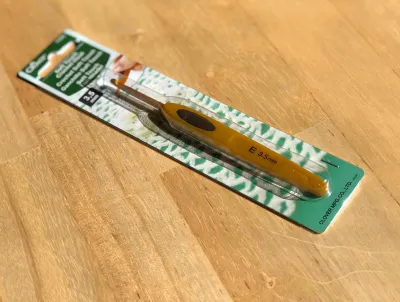
🌲 Crochet hook: https://woolpedia.de/products/clover-soft-touch-ha...
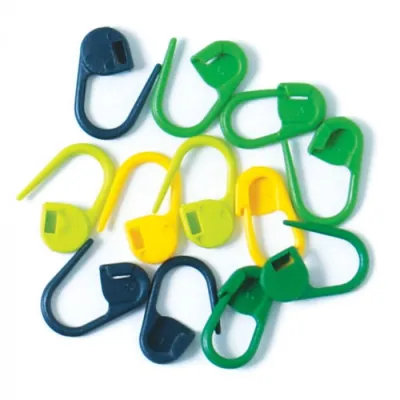
🌲 Stitch markers: https://woolpedia.de/products/30-knitpro-verschlie...
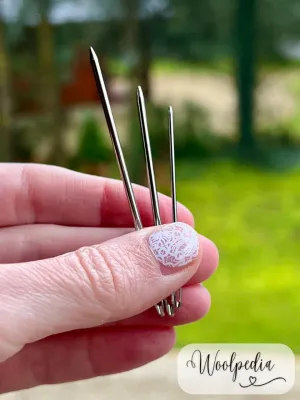
🌲 Yarn needle: https://woolpedia.de/products/3-wollnadeln-mit-spi...
🌲 Scissors: https://woolpedia.de/products/madeira-goldene-stor...
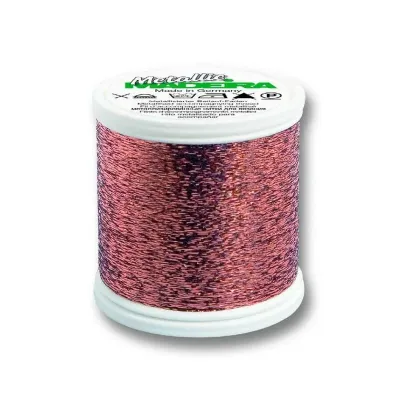
🌲 Extra glitter (optional): https://woolpedia.de/products/madeira-metallic-lur...
📏 Sizing Guide
The skirt is worked from the top down:
- Waistband Height: Determined by the length of your starting chain.
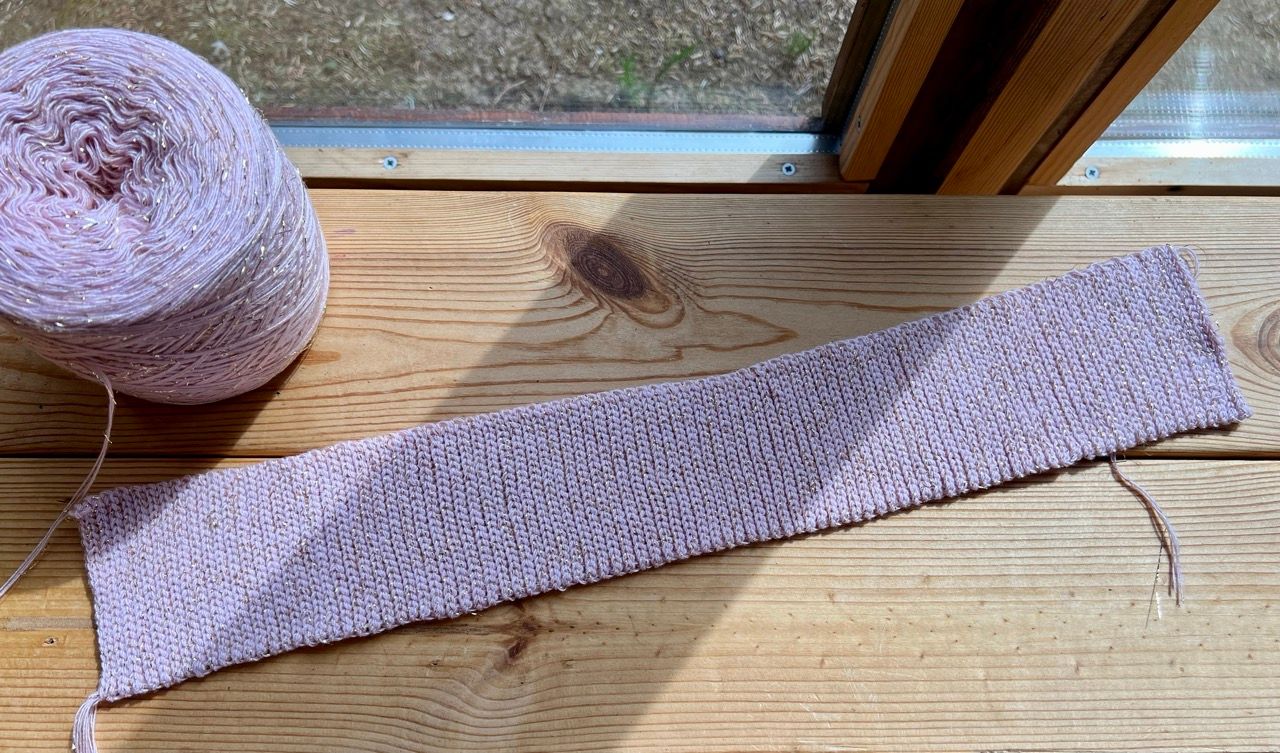
- Waistband Circumference: Worked in rows until the strip fits comfortably around your waist/hips when stretched.
📑 Instructions
Part 1: The Elastic Ribbed Waistband
The waistband is worked in rows using slip stitches in the back loop only (BLO), creating a super stretchy, reversible ribbed band.
- Start: Make a simple slip knot on your hook.
- Foundation Chain: Loosely chain to your desired waistband height (approx. 15cm or 24 chain stitches).
- Working in Rows (Ribbed Pattern):
- Row 1: Ch 1 (does not count as a stitch), turn. Insert your hook into the 2nd ch from the hook in the back loop only (BLO). Work a slip stitch (yarn over, pull through the loop and directly through the loop on hook). Keep your tension very loose! Work BLO slip stitches across to the end of the row.
- Row 2 to Desired Length: Ch 1, turn. Work BLO slip stitches across the entire row.
- Check Circumference: Continue working rows until the band fits around your waist or hips. Important: Wrap the band around your body with a slight stretch. It should be slightly smaller than your actual measurement so the skirt fits snug and won't slide down!
Join the Waistband:
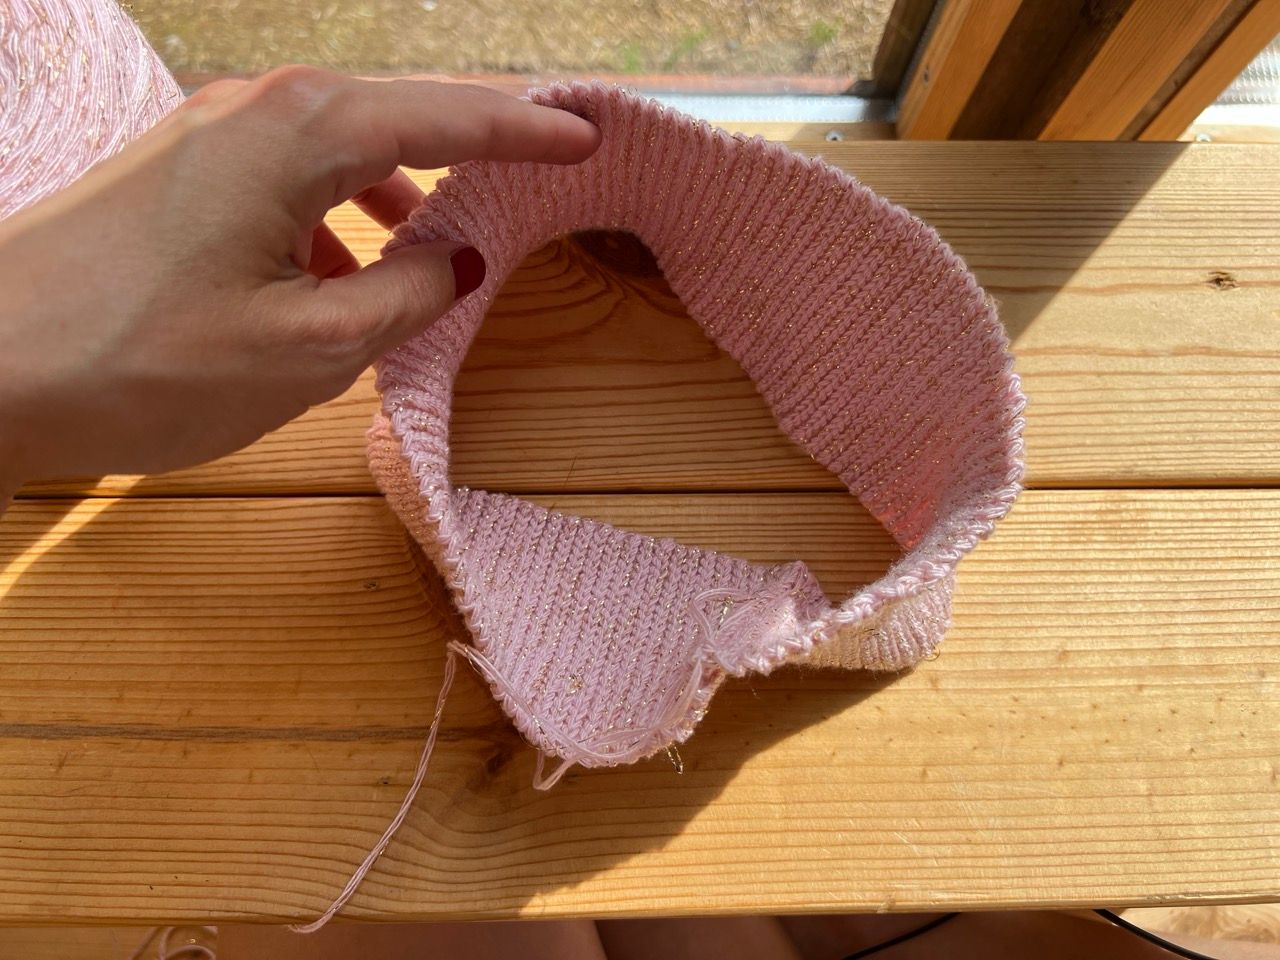
- Bring the two short ends of the waistband together.
- Seam both edges together stitch-for-stitch using slip stitches (or single crochets) to form a ring.
- Turn the waistband so your preferred seam side faces inward/outward.
Part 2: Transition to the Skirt Body
Now you will work in rounds along the long bottom edge of the waistband.
- Round 1 (Double Crochet Base Round):
- Start the round with ch 2–3, or a standing double crochet (pull loop up slightly, wrap hook around the loop, yarn over, pull through 2 loops).
- Work double crochets (dc) evenly along the bottom edge of the ribbed band (placing stitches in the ridges and valleys).
- Join: Join the round seamlessly by inserting your hook from back to front into the first stitch, catching the working loop, and pulling it through to the back.
Part 3: The Wave Pattern (Feather and Fan)
The pattern alternates between Treble Crochet Wave Rounds and Back Post Intermediate Rounds.
(Note: "Doppelte Stäbchen" in German = Treble Crochet / tr in US terms)
Round 2 (Treble Crochet Wave Round):
- Start: Work a standing treble crochet (or ch 4).
- Shell 1 (Increase): Work 5 treble crochets (tr) into the next stitch.
- Shell 2 (Increase): Work 5 treble crochets (tr) into the very next stitch. (This creates the peak/crest).
- Transition: Work 1 single tr in the next stitch.
- Valley (Skipping Stitches): Work 7 treble crochets, skipping 1 stitch of the previous round before each tr (skip 1 st, 1 tr in next st).
- Repeat: Work 1 single tr in the next st, followed by the shell pair ($5 + 5\text{ tr}$ in 2 consecutive stitches), and repeat around.
- End of Round: If you run out of exact stitches to skip at the end of the round, simply adjust by making tr stitches without skipping. The wave pattern is very forgiving! Join the round from the back.
Round 3 (Back Post Double Crochet Ridge Round):
- Ch 1.
- Work a Back Post Double Crochet (bpdc) into every stitch of the previous round (no increases or decreases).
- Technique: Yarn over, insert hook from back to front around the post of the st, then back through to the rear, yarn over, pull up a loop, and finish as a regular dc.
- This pushes the top loops forward, creating a beautiful dimensional ridge.
- Join from the back.
Part 4: Continuation & Skirt Flare
- Slanting to the Peak: At the beginning of the next wave round, slip stitch over to the center between the two shells of the previous round to keep your starting point centered on a peak.
- Pattern Repeat: Keep repeating Round 2 (Wave Round) and Round 3 (BPDC Ridge Round).
- A-Line Shaping:
- Make sure the increase shells (5+5) are always aligned directly above the peaks from the previous wave round.
- The valleys form automatically above the skipped stitch areas.
- As the skirt flares outward, feel free to adjust: If the area in the valleys needs extra room, you can place 2–3 regular tr stitches next to each other without skipping to keep the skirt flowing nicely without pulling tight.
Part 5: Finishing
- Continue repeating the two-round pattern until the skirt reaches your desired length.
- Fasten off and cut the yarn, leaving a tail.
- Weave in all ends neatly on the inside of the skirt using a yarn needle.
Enjoy crocheting your custom skirt! ❤️
Refine by
Display prices in:EUR